Tags
cameras for children, children and cameras, childrens camera club, kids camera club, teach your child to take photos
Holding the camera, framing the image and portrait and landscape orientation.
So your son or daughter would like to use a camera? Where to start? This week we will cover holding the camera, framing the image and portrait and landscape orientation. This post and several others following should give you a few ideas and projects that you can complete.
Parts of the camera
When it comes to naming parts of the camera, you may be surprised how much your child actually knows. Forget worksheets or downloads from the computer; actually get the camera out that you are going to use and look at it together. See what your child can name without any prompting, then add to this. As you go through the parts make sure you discuss what each bit is for. It’s all very well knowing where the zoom button is, but do they know what it is for?
Aim to name the on/off button (sounds obvious but without this knowledge there is no way the camera will work!) the flash, zoom button/s, shutter release button, lens, LCD screen, battery compartment. Anything more than this is a complete bonus.
How to hold a camera
The most important thing (especially if you are trusting your DSLR and their tiny hands) has to be the use of the camera strap! Such a simple thing, but with such a huge effect if it goes wrong!
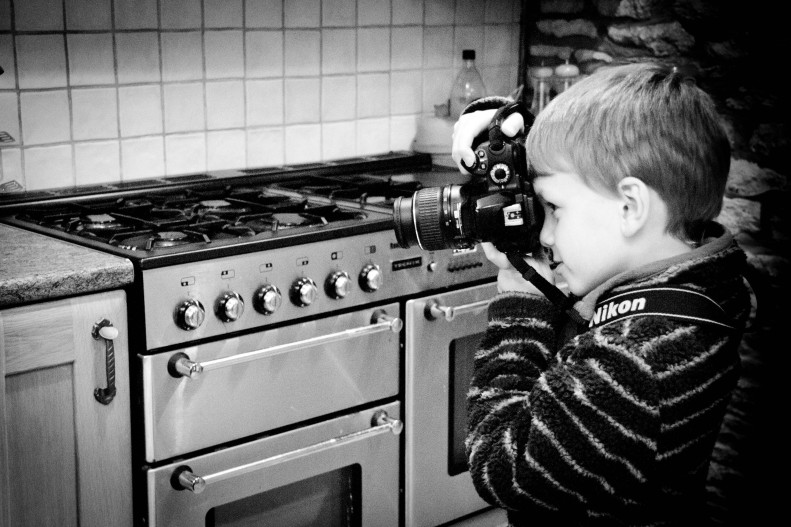
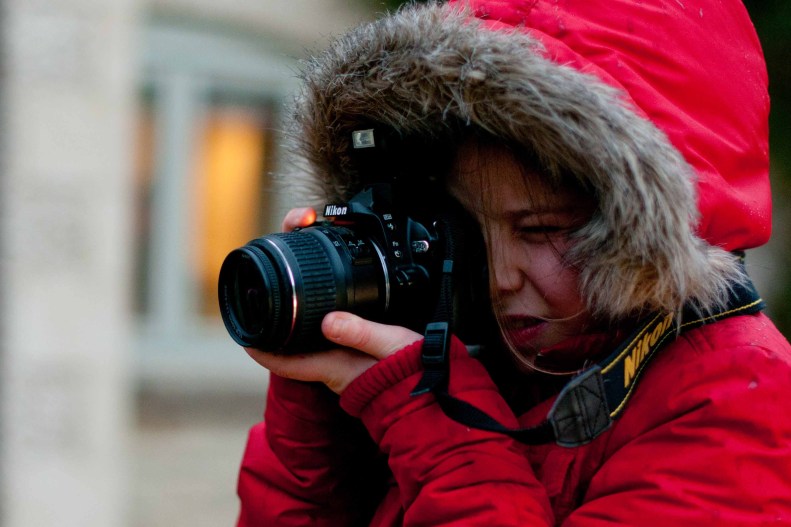
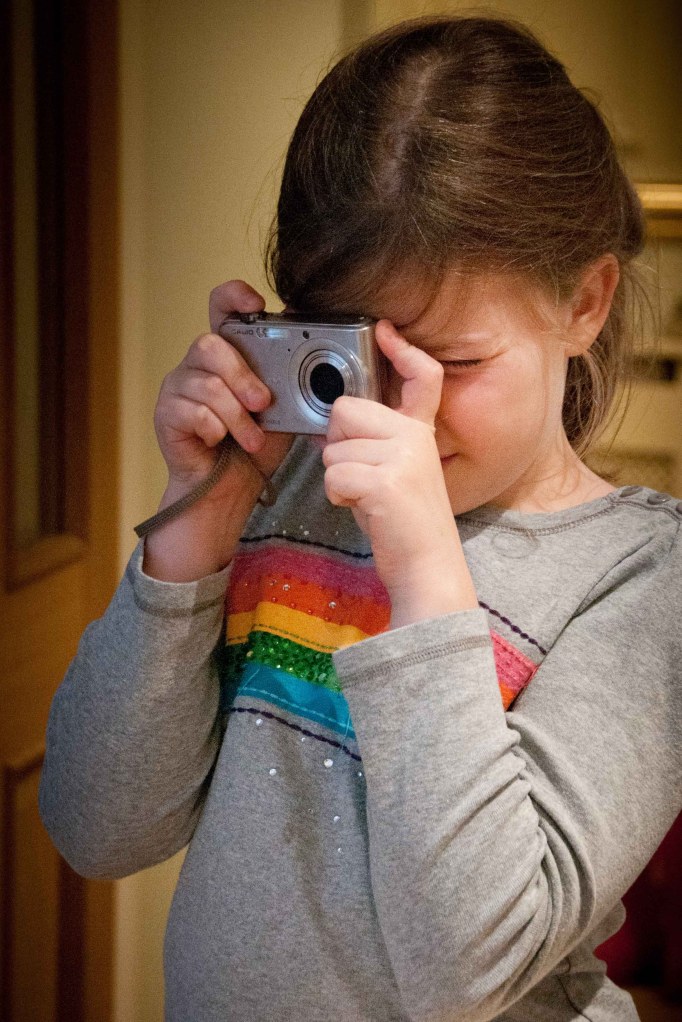
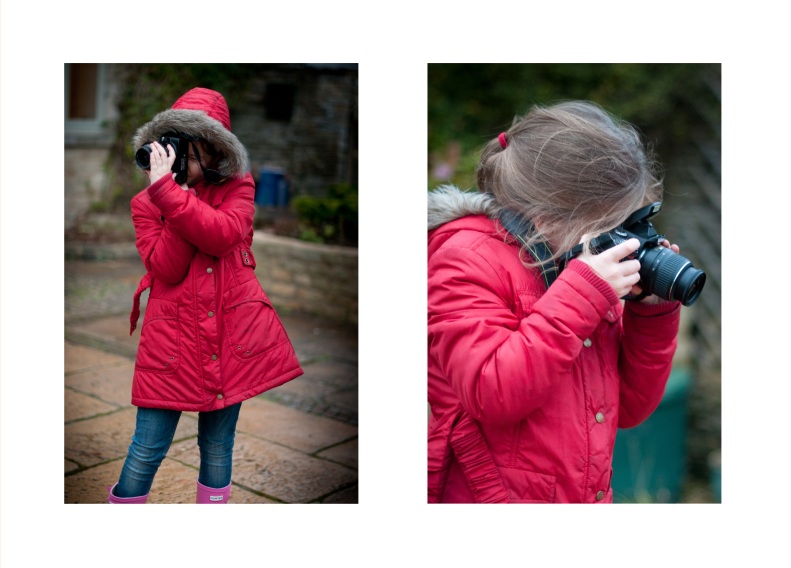
Show your child how to hold their camera to get the most stable position when taking landscape and portrait photos. Encourage them to hold the camera close to them rather than at arm’s length, and if your camera has a view finder encourage the use of that rather than your LCD screen (this will hugely extend battery life as well).
Always use both hands on the camera, and show how they might support themselves against a large object to improve their body stability. Now you have the absolute basics you can start taking photos!
You can take a perfect picture…..but sometimes it might go wrong!
If your child is anything like mine, or the class that I have been teaching they will be itching to take photos. One more thing that you can do to increase their awareness (and see how much they already know) is to discuss what could go wrong with pictures.
For my class I collected around 10 images which showed blurring, tilted camera, no flash, heads and feet cut off, wrong bits in focus. It was a great activity and they were all very enthusiastic to tell me what was wrong with the photos! I ended up using photos that my son and husband had taken for this exercise as I have got so used to dumping all my useless images! Here are a few examples.
Now you are ready to pick up the camera and take some photos. Most of these ideas can be practiced at home or out and about. Throughout my teaching of photography I have not been worried about the subject matter; only that we practise the principles.
Framing the image
For this we are concentrating on not losing any bits out of the view finder! We are not trying to create the most stunning image. 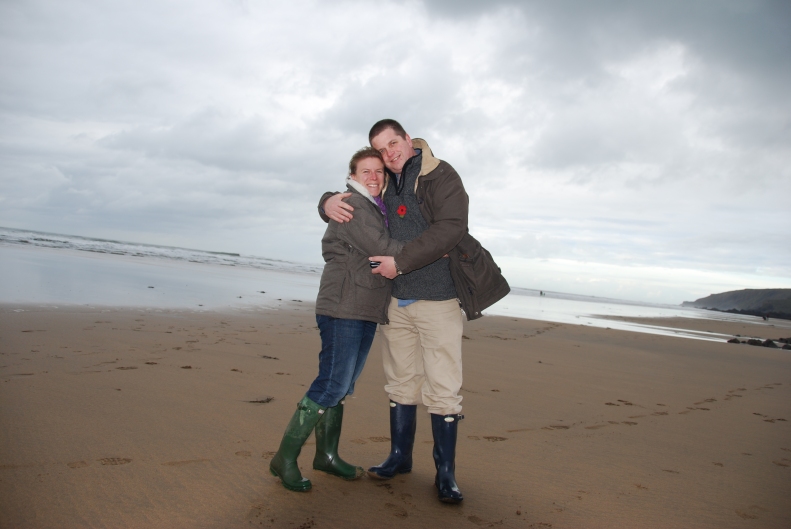
Henry took this one of me and Kevin. Ok, it’s not straight, but he got our heads and our feet in. While he was taking it I reminded him to make sure he could see all of us!
Find some objects for your child to photograph around the home or in the garden. Ask them to make sure they can see the whole object in the viewfinder before they press the button. 9 times out of 10, children are so eager to take a photo they don’t actually think to look at what they can actually see through the viewfinder or on the LCD screen.
The two images below show one of Henry’s attempts at taking a photo of some cans on a table. The first was taken without any real attention to what he could see or the image being created. The second image is as good as i would expect after being asked to make sure both cans were in the viewfinder!
Get this sussed and you are well on the way (my hubby still has problems including horses feet in photos!)
Encourage your child to move towards or away from an object to fit it all in. If they know how to use the zoom button use that as well. By giving your child specific objects to photograph you will encourage them to take a moment to look rather than snap away randomly!
Portrait or landscape
Get your child to show you how they would hold the camera for each of these options.
Ask if they can describe times when they might use the different orientations. At this point make it very clear that there is no right or wrong orientation, provided they capture the image they want. Show the images below and ask which your child thinks is the best. Wait for the indecision!!! Ask why they chose the one they did. 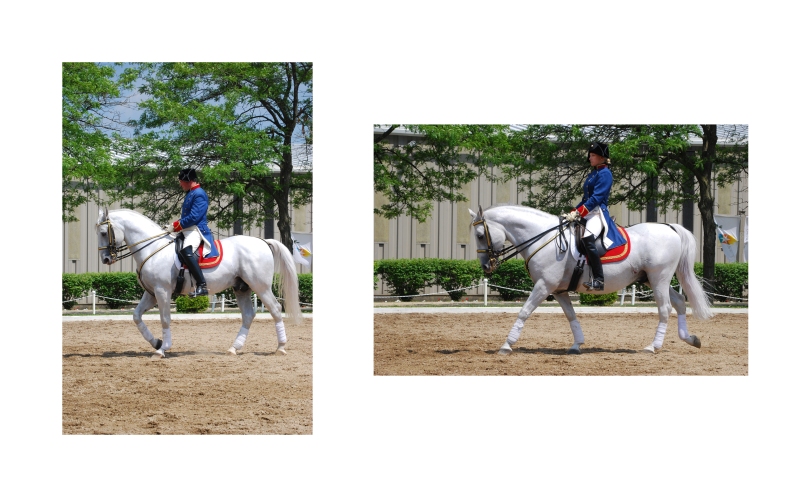
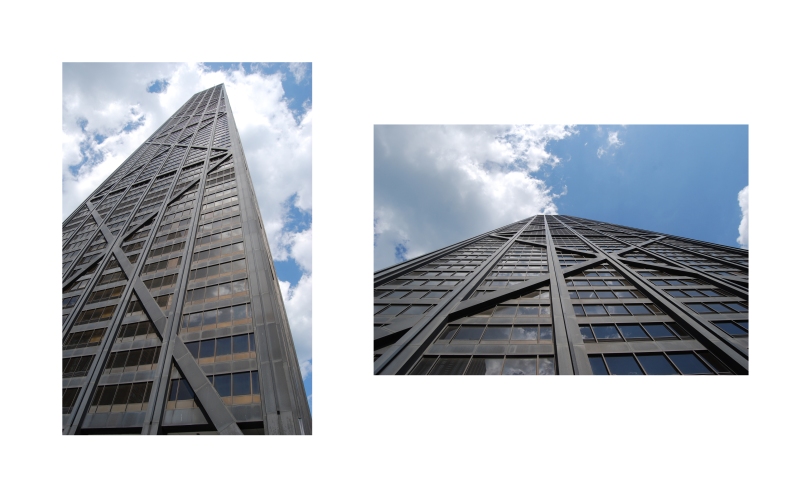
Now go and find some objects or views to photograph, and take each in landscape and portrait orientation. Your project for this week, is to choose two objects and to take a portrait and landscape orientated image of each. Ensure the whole object is framed in the photo.
If you would like to send the photos to me at charlotte@charlottebellamy.co.uk, i will share them in a blog post and on my FB business page. Let me know how you get on!!!!!
Thanks to my great models for this blog post – 9 yr old Megan and my nearly 7yr old son.

